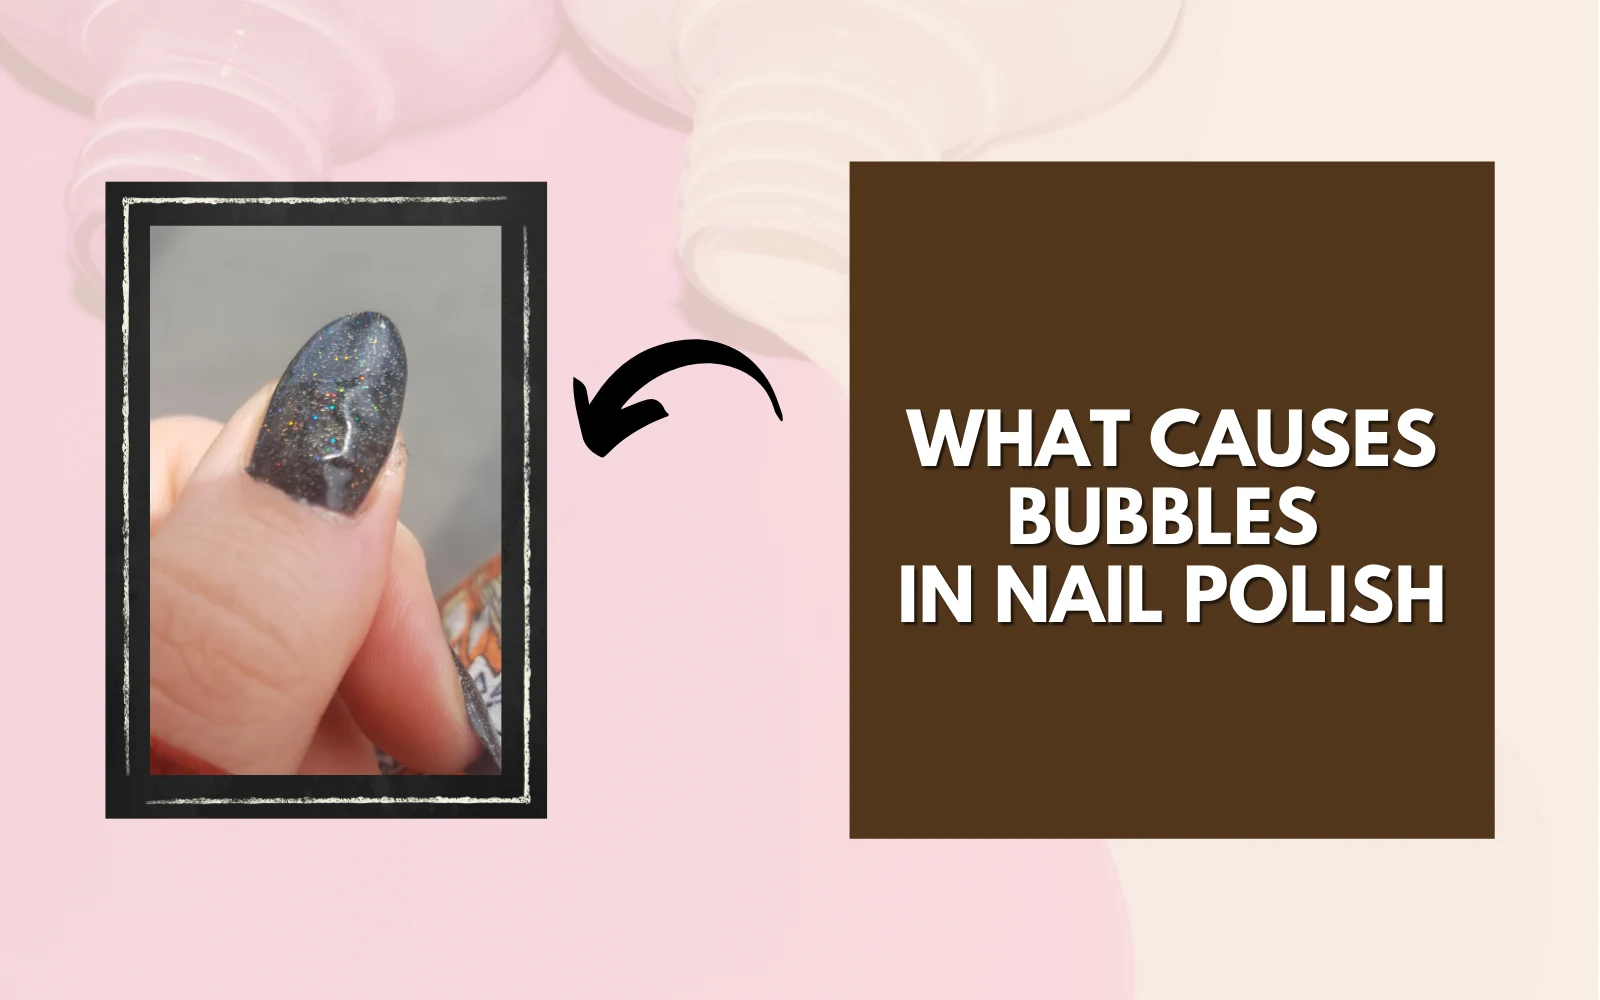
Did you ever contemplate why nail polish bubbles form? It can be not very pleasant! To better comprehend nail polish science, we need to glance at the complex chemical actions that take place when it is put on. This writing will explain the science of nail polish bubbles and how to steer clear of them.
Nail Polish Composition
Nail polish is made from a blend of elements that work together to get the desired color, texture, and longevity. The main components are film formers, resins, plasticizers, and solvents. Film-formers make the polish stick to the nail and give it a smooth finish.
Resins provide strength and durability. Plasticizers make the polish flexible and stop it from getting brittle. Solvents dissolve the other components, giving them the right consistency.
Bubbles in nail polish can occur due to shaking or stirring the bottle, using thick layers, or using old polish. Avoid bubbles by rolling the bottle between palms instead of shaking, using thin layers, and finishing with a topcoat.
✨ Pro Tip: Keep your nail polish in a cool, dry place away from sunlight. This prevents it from thickening or separating.
Why Do Some Brands Create More Bubbles Than Others?
Bubbles in nail polish are caused by a chemical reaction called solvent evaporation. Nail polish formulas usually have three main parts – solvents, resins, and pigments.
When applied, the solvents evaporate, causing the polish to dry and harden. If the solvents evaporate too quickly or unevenly, bubbles appear.
Different brands produce more bubbles because of variations in their formulas, manufacturing processes, and ingredients used. Additionally, how it’s applied can also create bubbles. To avoid this, apply evenly in thin coats. Don’t shake the bottle and store it in a cool, dark place.
✨Pro tip: Add a few drops of nail polish thinner to thick polish. This will make it smoother and easier to apply, reducing bubble formation.
Common Causes of Nail Polish Bubbles
Let’s take a look at the common triggers. Plus how to prevent them.
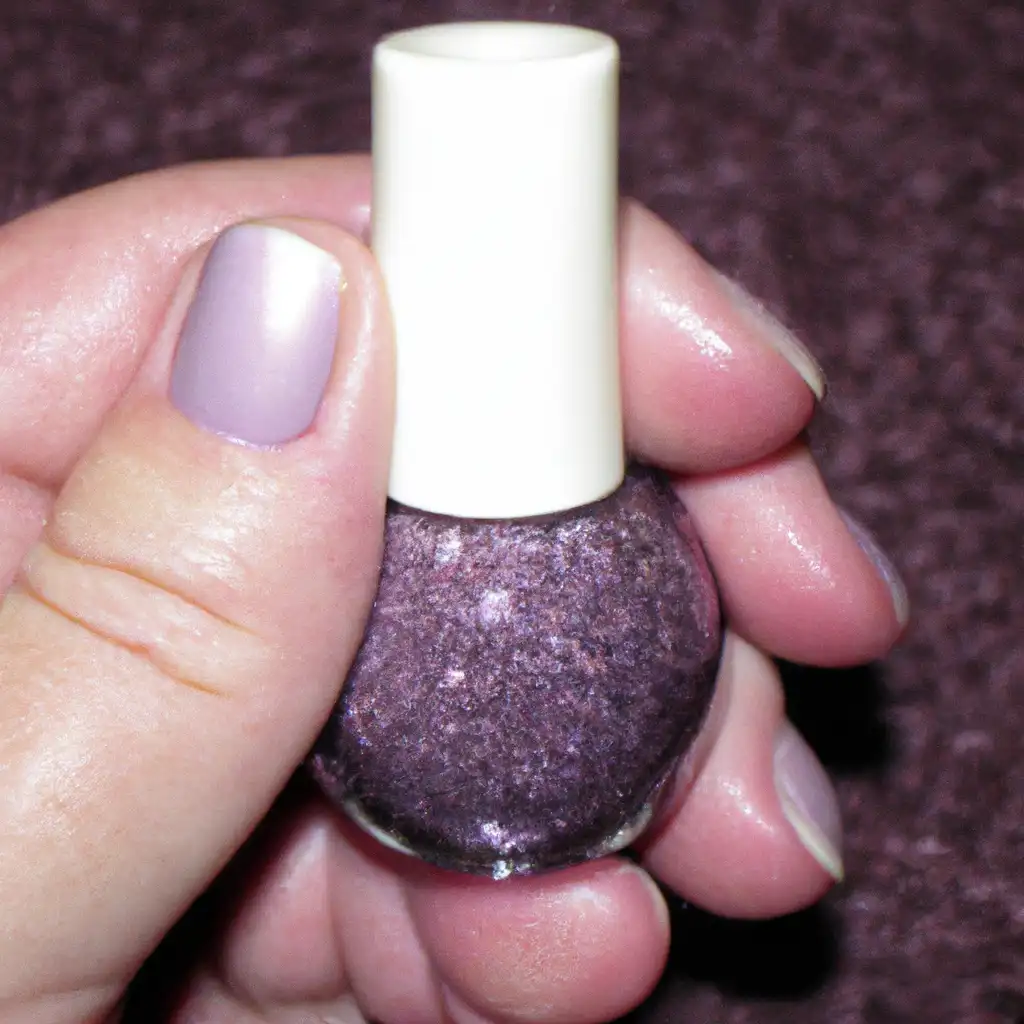
Using Old or Expired Nail Polish
Old or expired nail polish can cause bubbles. These bubbles make it hard to get a smooth finish on nails. Other factors can also cause bubbles – shaking the bottle vigorously, using nail polish in humid environments, applying a thick layer, and not waiting for each layer to dry.
Store nail polish in a cool, dry place away from sunlight to prevent bubbles. Roll the bottle between your hands instead of shaking. Apply nail polish in a well-ventilated room with moderate humidity. Thin layers with time for each layer to dry. Clean the neck of the bottle and cap regularly to prevent air leakage. Dry out or thickening can be avoided this way.
Applying the Nail Polish Too Quickly
A popular reason for nail polish bubbles? Applying the polish too quickly! When you hurry, the air gets trapped between the layers and forms bubbles. Here are some tips to stop that:
- Clean nails and a smooth base coat.
- Use thin coats of nail polish. Let each layer dry before another. If it’s too thick or not dry, bubbles could form.
- No direct sunlight or heat on the polish. It can make it thicker and cause bubbles in the bottle.
- If you do get bubbles, try popping them with a toothpick or brush. If you shake the bottle, more bubbles will come.
Applying Too Many Coats of Nail Polish
Too much nail polish will cause bubbles. It’s because the many layers trap air, making it thicker and harder to dry. To avoid bubbles:
- Apply thin coats.
- Let the base coat dry before colored polish.
- Don’t shake the bottle.
- Store at room temperature and away from heat and sunlight.
DIY Solutions for Nail Polish Bubbles
Do you find tiny bubbles in your nail polish? Annoying, aren’t they? To help you out, let’s explore the possible causes and DIY solutions for preventing them. Let’s dive in!
Use a Polish Thinner to Even Out Thick Nail Polish
A polish thinner is a great way to even out thick nail polish. It stops bubbles in your manicure. Here’s how to use it:
- Open the bottle and wipe the neck and brush.
- Add 2-3 drops of thinner.
- Close the lid and roll the bottle between your hands.
- Test the polish on one nail.
- If it’s too thick or has bubbles, add 1-2 more drops.
A polish thinner is a great DIY solution for bubble-free manicures.
Try Using a Ridge Filling Base Coat
Bubbles in our nail polish can be due to an uneven nail surface. To stop this, a ridge-filling base coat is the best answer. It’s made to even out ridges and bumps on the nail before painting.
This means the polish has a flat and smooth layer to stick to, lessening the chance of bubbles. The base coat also helps protect your nails from damage like staining, chipping, and cracking.
It’s important to use the base coat on clean, dry nails before painting. Besides that, keeping your polish away from heat, using thin coats, and not shaking the bottle are great tips for avoiding bubbles.
Add a Drop of Polish Remover after Shaking the Bottle
It works because nail polish remover contains acetone–which helps restore the polish’s smooth consistency. Just follow these steps:
- Shake the nail polish bottle;
- Open the cap and add a minuscule amount of nail polish remover (using a dropper or brush);
- Gently stir the polish with the brush–no more shaking the bottle;
- Apply the polish to your nails and enjoy bubble-free nails!
✨Note: too much nail polish remover can thin out the polish, thus affecting its longevity and finish. So, only add a drop or two, and mix softly.
Conclusion and Final Thoughts on Nail Polish Bubbles
Summing up, there are many reasons why bubbles can show up on your nail polish. To avoid them, here’s what you should do:
- Roll the bottle instead of shaking it.
- Clean your nails before painting them.
- Put on thin, even layers of polish – and let each one dry before continuing.
- Finish it off with a topcoat to protect your manicure from damage.
Adhering to these tips will ensure a perfect manicure every time!
Frequently Asked Questions
1. Why do bubbles form in my nail polish?
A: Nail polish bubbles form due to a variety of reasons, including shaking or overheating the bottle, not allowing enough time for each coat to dry, and applying too thick of a coat.
2. Can I prevent bubbles from forming in my nail polish?
A: Yes! To prevent bubbles, roll the bottle between your palms instead of shaking it. Wait at least two minutes between coats, and make sure each coat is completely dry before applying another.
3. What impact does the type of brush have on bubble formation?
A: The type of brush can make a difference in how many bubbles form. Flat, wide brushes tend to create fewer bubbles than thin brushes, which can trap air pockets in the polish.
4. How can I fix bubbles that have already formed?
A: Allow the polish to dry completely, and then gently sand the bubbles down with a fine-grit buffer. Be careful not to buff too hard or too long, as this can make the polish look dull.
5. Is it safe to use nail polish with bubbles?
A: While bubbles in nail polish can be unsightly, they are generally not harmful. However, if you notice any other signs of spoilage, such as a foul odor or separation of the polish’s ingredients, it’s best to toss it out.
6. Does the age of the Polish affect bubble formation?
A: Yes, older nail polish can be more prone to bubbling. Keeping nail polish in a cool, dark place and replacing it every few years can help prevent bubbles from forming.
Maya serves as Editor-in-Chief of the Beauty section of HealthMagazineLab.com, bringing decades of industry expertise to uphold standards of accuracy and reliability for the publication’s millions of monthly readers seeking the latest beauty insights.